Parsing PNGs with Node, Part 4
We left off the last post looping over each pixel, wahoo! So this final post will focus on ✨filter types✨.
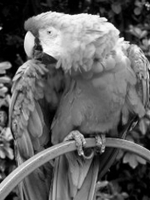
Here’s the image I’m working against:
And here’s the final output of this post.
In the last post, we were splitting the scanline into individual rows and looping over each byte in the row. Conveniently enough, the sample image has a 1:1 pixel to byte ratio, so we don’t need to do anything special to group bytes together to make a more complex pixel, or split them up. But keep in mind that won’t always be the case.
You might’ve noticed in the last method we worked on, if a row was 150 pixels wide, we were always adding one additional byte to the row. That first byte of the row was added to a variable called filterByte. (You can refresh your memory here.)
So what is a filter byte? The concept is so clever! Let’s circle back to the baby blue rbg value I referenced in the last post: 137, 207, 240.
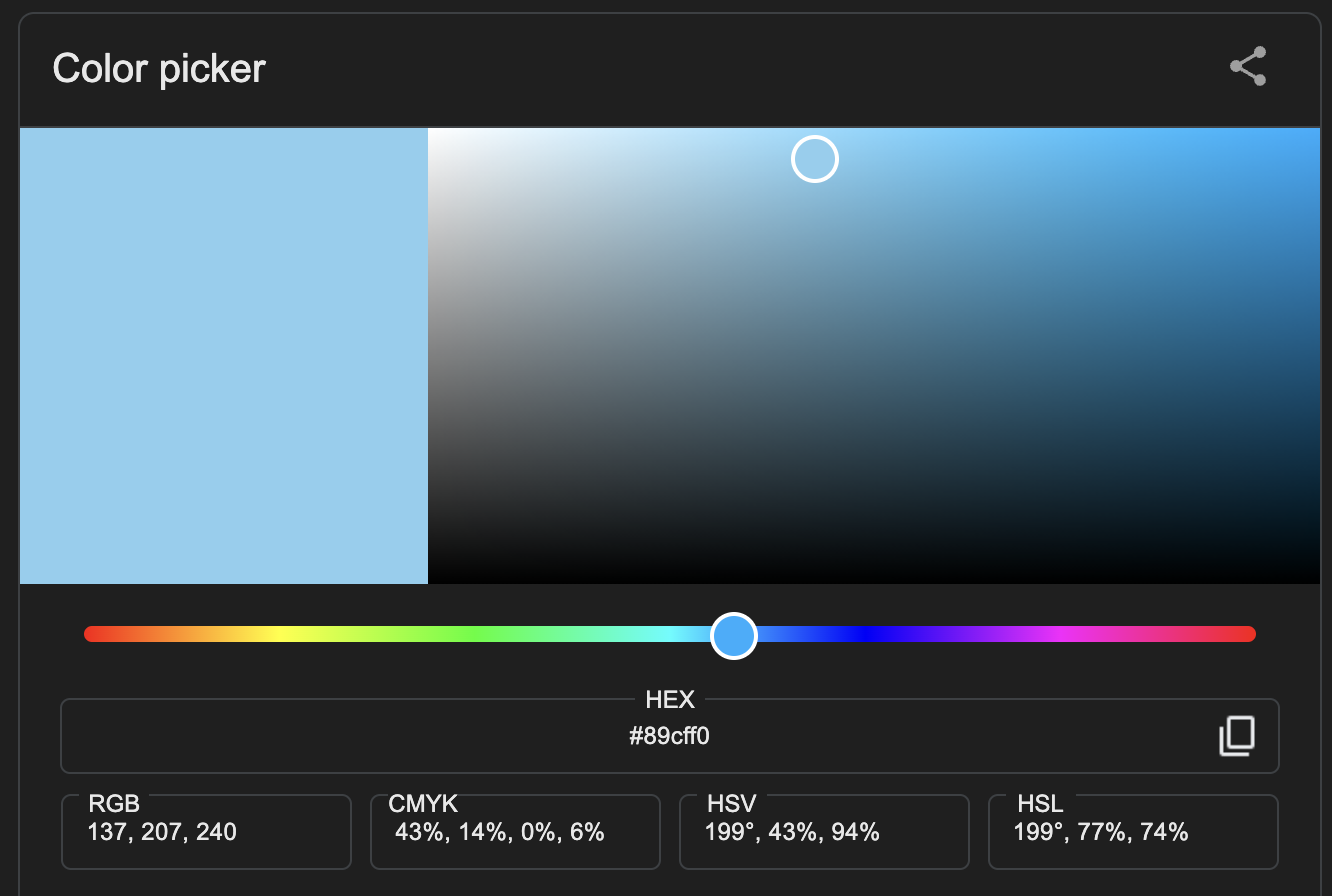
Converted to a byte array, that single pixel looks like this:
[ 10001001, 11001111, 11110000 ]
Of course, this is just a single pixel, think about an entire image. We already talked about how unwieldy this could get, but consider how often a single color gets repeated in an image. Look at the sample grayscale image we’re using - there’s a lot of the same colors. Think about how much space a file could save if it could use one complete pixel value as a reference for other pixels - that is what Filter Types do. 🤯
There are 5 different values for a filter type:
- 0: No filter is applied. The values for this row are absolute values
- 1: Sub filtering - performs a look behind to the pixel directly to its left
- 2: Up filtering - performs a “look up” to the pixel directly above it
- 3: Average filtering - takes an average of the neighboring pixels
- 4: Paeth filtering - using neighboring pixels, Paeth is predictive in choosing the value closest to the computed value
Let’s go through these one at a time. In the previous post, we left off looping over the row, but now let’s assume we’re passing the entire row to a function where the looping is performed.
// note that this function will assume that currentRow DOES NOT include filterByte
+ function applyPixelFilter(filterType, bitDepth, currentRow, previousRow) {
+   switch(filterType) {
+     case 0:
+     case 1:
+     case 2:
+     case 3:
+     case 4:
+   }
+ }
Since a filter type of 0 means the pixels are already in their absolute form, we’ll start with filter type 1. As mentioned above, filter type 1 is performing a look-behind to it’s left-hand neighbor. The first row in a PNG might use this filter type, since it doesn’t have any neighbors above it for reference.
When the look-behind is performed, the current pixel doesn’t just assume the value of the previous pixel - instead the value is the combined total of the left-hand pixel and the current pixel, up to 255. Note that this number wraps around, so any overflow beyond 255 is the actual value used.
  /* ... */

  switch(filterType) {
    /* ... */

    case 1:
+   let unfilteredPixels = []

+   currentRow.forEach((value, i) => {
+     if (i === 0) {
+       unfilteredPixels.push(value)
+       return
+     }

      // perform look-behind
+     unfilteredPixels.push(
+       (value + (unfilteredPixels[unfilteredPixels.length - 1] || 0)) % 256
+     )
+   })

+   return unfilteredPixels

    /* ... */
  }
In our first case (as we will in every case) we loop over the row. (Note that you need to check for the bitDepth to make sure that a pixel really is a single byte, as this assumes. I left that out to keep the code more approachable.)
Within the loop, we are assuming that the first byte value is an absolute value, which is safe for a look-behind, because that pixel has no left-hand neighbor to reference. Moving on, we are using the last value from our unfilteredPixels array as our reference. It’s important to note that as we are looping over the row, each previous pixel was also referencing its left-hand neighbor. In order to calculate the correct value for the current pixel, we need to look at the absolute value of the previous pixel, which we receive after filtering, not the provided value. This will be true for all filter types.
Filter type 2 is very similar, but instead of a look-behind, it performs a “look-up”. Using previousRow as our reference, we will combine the current pixel’s value and the absolute value from the same space in the previous row.
  /* ... */

  switch(filterType) {
    /* ... */

    case 2:
+     let unfilteredPixels = []

+     currentRow.forEach((value, i) => {
        const b = previousRow?.[i] || 0

+       unfilteredPixels.push((value + b) % 256)
+     })

+     return unfilteredPixels

    /* ... */
  }
Filter type 3 is a little bit more complicated, but it builds on types 1 and 2. Instead of adding the absolute value of a neighboring pixel, we take the average of two neighboring pixels - left and above - and add their average to the current pixel’s value.
  /* ... */

  switch(filterType) {
    /* ... */

    case 3:
+   let unfilteredPixels = []

+   currentRow.forEach((value, i) => {
+     if (i === 0) {
+       const b = previousRow[i] || 0
+       const avg = Math.floor(b / 2)

+       unfilteredPixels.push((value + avg) % 256)

+       return
+     }

+     const a = unfilteredPixels[unfilteredPixels.length - 1] || 0
+     const b = previousRow[i] || 0

+     const avg = Math.floor((a + b) / 2)

+     unfilteredPixels.push((value + avg) % 256)
+   })

+   return unfilteredPixels

    /* ... */
  }
Similar to case 1, we know that the first pixel in this row will not have a left-hand neighbor, so we take the average of the neighborhood above, and add that value to the current pixel. Remember that we are always taking absolute values after the filtering has been applied.
Moving on in the loop, we take each reference value, and find their average. That average is then applied to the current pixel’s value.
Lastly, we have Paeth filtering, which is the most complicated. It uses three reference pixels: left, top, and top-left. It might look like this, where D is the current pixel:
C  B
A  D
Let’s look at a Paeth function in isolation:
// paeth takes in each of our reference values
function paeth(a, b, c) {
  // first find P -- that is your comparison
  const p = a + b - c

  // now that we have p as a comparison, we can find which initial value is closest to p
  // take the absolute value of the difference between p and the current value
  // compare that difference to the previous difference
  // if the new difference is lesser -- use it
  const leastDiffObj = [a, b, c].reduce(
    (prev, curr) => {
      const difference = Math.abs(p - curr)

      if (prev.difference === null) {
        return {
          value: curr,
          difference,
        }
      }

      const diffObj =
        difference < prev.difference ? { value: curr, difference } : prev

      return diffObj
    },
    {
      value: a,
      difference: null,
    }
  )

  return leastDiffObj.value
}
We use p as a comparision value for the rest of the reference values. p takes on the value of a+b-c. We loop over a, b, and c to find the value that is furthest from p, but note that we want the outcome to be less than p. So given p=30, a=20, b=20, and c=65, even though c is furthest from p, a would still win because it is a lesser value.
Now that we’ve completed the paeth function, we can apply its result.
  /* ... */

  switch(filterType) {
    /* ... */

    case 4:
+   let unfilteredPixels = []

+   currentRow.forEach((value, i) => {
+     if (i === 0) {
+       const b = previousRow[i]

+       unfilteredPixels.push((value + b) % 256)

+       return
+     }

+     const a = unfilteredPixels[unfilteredPixels.length - 1] || 0
+     const b = previousRow[i] || 0
+     const c = previousRow[i - 1] || 0

+     let difference = paeth(a, b, c)

+     unfilteredPixels.push((value + difference) % 256)
+   })

+   return unfilteredPixels

    /* ... */
  }
Similar to cases 1 and 3, if we are on the first index of a row, that index has neither a left-hand neighbor, or a top-left neighbor, so b wins by default. Continuing through the loop, we use the paeth function to determine the winning value, and then apply that value to the current pixel, exactly like the rest of the filter types. (Note: the value being applied as a result of the paeth function is the absolute value of the winning pixel, not the difference between that value and p.)
Now that we’ve made it to the end of our filter type method, we have a multidimensional array of 8-bit numbers, representing grayscale pixels! 🙌 What do we do with it? The sky’s the limit!
If you’d like to see your progress thus far you could:
- paste the result into the terminal
- use a PNG library to rewrite your pixels into a new PNG (or write your own 👀)
- use the pixels to create a
.pgmfile (that’s what I did here)
I learned a lot in this project, and I really enjoyed recounting the journey through these posts. The project was a challenge, but it was a blast! I hope you found these posts helpful and informative, and I really appreciate you for reading them. Thank you!
If you enjoyed this post, please check back soon. I’m still tinkering with PNGs, and this time I am implementing different image resizing algorithms and posting about my progress along the way.

