Parsing PNGs with Node, Part 3
We left off the last post with the image metadata and raw bytes for the pixels.
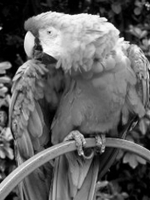
Here’s the image I’m working against:
And here’s the final output of this post.
The IHDR chunk fully parsed provides this information:
{
  "width": 150,
  "height": 200,
  "bitDepth": 8,
  "colorType": 0,
  "compression": 0,
  "filter": 0,
  "interlace": 0
}
Our new function will take in the metadata and raw pixels like so:
const colorChannelMatrix = {
  0: 1,
  2: 3,
  3: 1,
  4: 2,
  6: 4,
}

function parsePixels(signature, pixels) {
  const { height, width, colorType, bitDepth } = signature

  // the product of the colorType and bitDepth determines the bits per pixel
  let bitsPerPixel = colorChannelMatrix[colorType] * bitDepth

  // using the derived bits per pixel * width, find the bits per row / scanline
  let bitsPerRow = bitsPerPixel * width

  // finally divide that by 8 to find the bytes per row
  let bytesPerRow = Math.ceil(bitsPerRow / 8)
}
Before we get too far into parsing the pixels, let’s go over the image metadata, the raw pixels, and what it all signifies.
The pixels parameter is a Buffer array, but let’s think about what that means. The buffer is a just a blob of pixels, and just like the chunks of the pixels, nothing signifies the beginning or end of a row. So how do we know when one row of pixels ends and another begins? Let’s get into it!
Let’s start by considering the difference between a single value versus a single pixel. Consider RBG values, such as a baby blue 137, 207, 240.
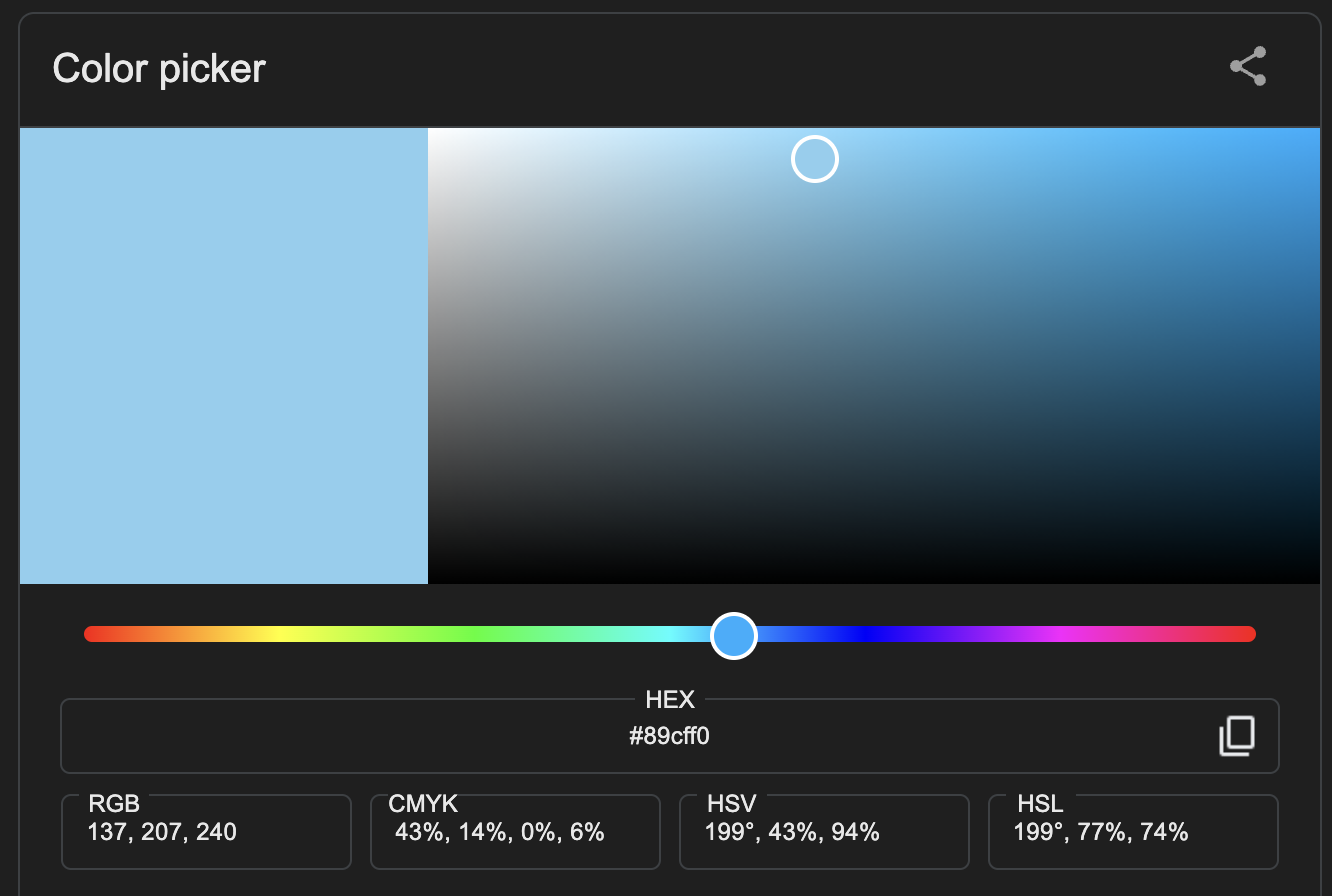
In order to apply that blue, we need all three of the numbers in the correct order. After all 240, 137, 207 is compromised of the same values, but is a completely different color!
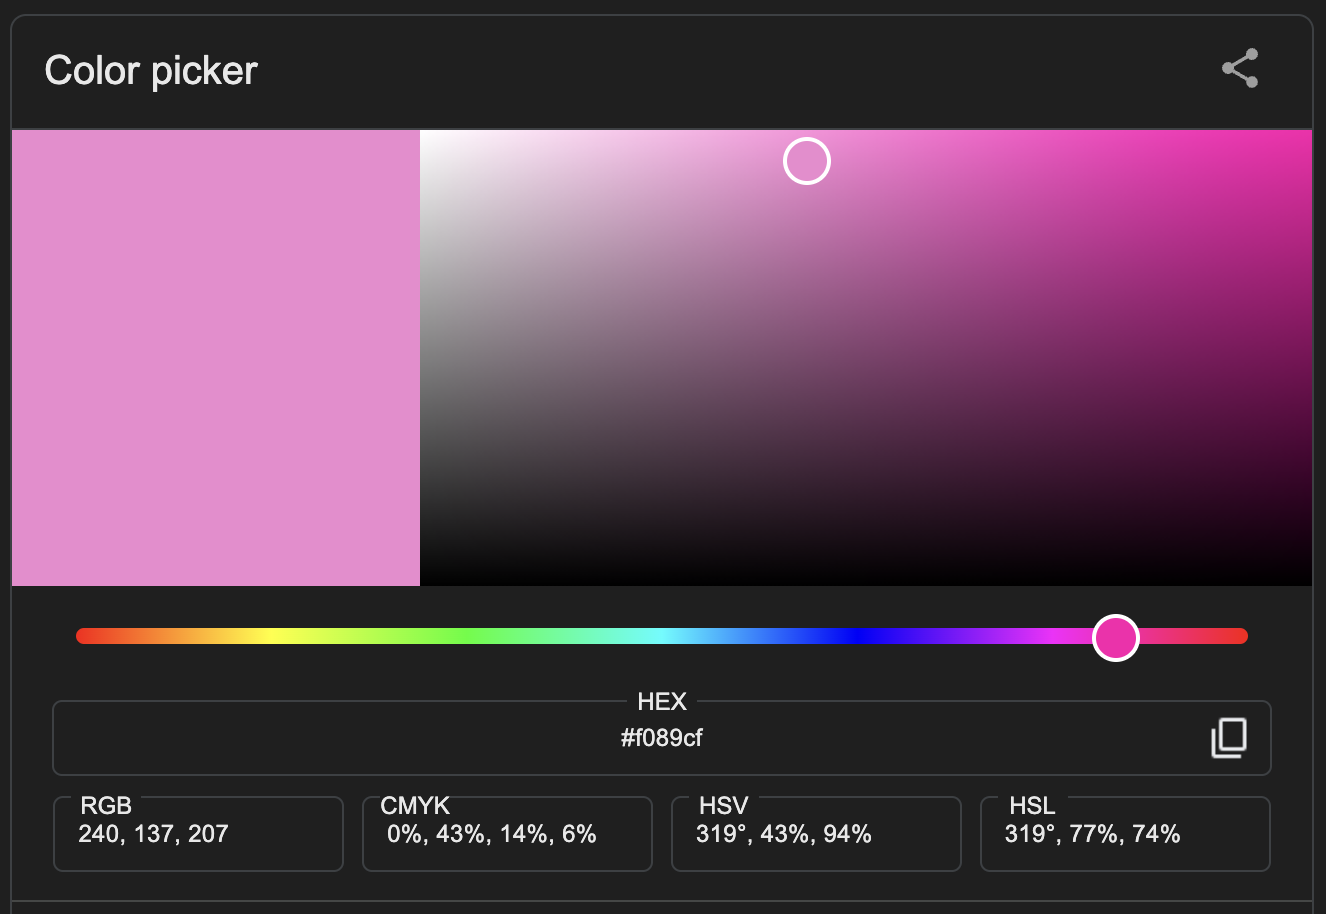
It’s probably obvious that the individual values are 137, 207 and 240, but consider that the binary representation of this color looks like this:
[ 1, 0, 0, 0, 1, 0, 0, 1, 1, 1, 0, 0, 1, 1, 1, 1, 1, 1, 1, 1, 0, 0, 0, 0 ]
And that’s just a single pixel! We talked before about how the byte array of pixels is just a flat blob of bits. Take a high definition photo, it might be 1920 x 1080 pixels or ~2.1 million pixels. Think about that compared to the single pixel array up above, because that’s a lot of data without an obvious place to start or stop! It’s easy to see how getting off by 1 or 2 bits could really change the outcome of our image.
Fortunately, PNGs provide us with everything we need to pull pixels out of this haystack of 0s and 1s. To derive the number of bits in a single pixel, we combine bitDepth and colorType. There are 5 different color types, but for the purposes of this blog post, we’ll be focusing on grayscale. (Read more about different color types and their associated bit depths in the spec.)
A Color Type will only support certain Bit Depths. Grayscale is represented by two color type codes: 0 and 4. 0 indicates grayscale without transparency (alpha), and 4 indicates grayscale with transparency. Color type 4 supports bit depths of 8 and 16, while Color Type 0 supports all bit depths (1, 2, 4, 8, and 16).
You might be thinking, “ok, that’s interesting, but what does it mean?” Essentially, your colorType will tell you how many individual values make up a pixel, and your bitDepth will tell you how many bits make up an individual value.
So using my sample photo as an example:
let bitsPerPixel = colorChannelMatrix[colorType] * bitDepth // 1 * 8
For my image, the color type is 0, which indicates a single numerical value represents each pixel. The bit depth is 8, which indicates we need to parse 8 bits at a time to find the value for each pixel. Now we will use width to determine how many bits are in a row, and then convert that to bytes.
let bitsPerRow = bitsPerPixel * width // 8 * 150

let bytesPerRow = Math.ceil(bitsPerRow / 8) // 1200 / 8
Remember, while the sample image allocates 8 bits per pixel, or exactly one byte, it’s possible for a pixel to be larger or even smaller than a single byte. That’s why we first calculate the pixel size in bits and then convert to bytes.
Now that we know how many bytes are in a row, let’s continue:
function parsePixels(signature, pixels) {
  const { height, width, colorType, bitDepth } = signature

  // the product of the colorType and bitDepth determines the bits per pixel
  let bitsPerPixel = colorChannelMatrix[colorType] * bitDepth

  // using the derived bits per pixel * width, find the bits per row / scanline
  let bitsPerRow = bitsPerPixel * width

  // finally divide that by 8 to find the bytes per row
  let bytesPerRow = Math.ceil(bitsPerRow / 8)

+ const numScanlines = height
+ let currentScanline = 0
+ const scanlineLength = bytesPerRow + 1 // add one for the filterByte

  // a matrix containing pixel values per row
+ const pixelMap = []

+ while (currentScanline < numScanlines) { /* ... */}
}
This sets us up to loop over the pixels buffer array, knowing where a given row of pixels ends, and how many totals rows to expect. scanlineLength is the number of bytes per row plus one. This is because the first pixel of a row is allocated for the filter type. This was my favorite part of PNGs! I think filter types are so clever, and deserve their own post, so we’ll cover them next.
Let’s continue on the loop:
function parsePixels(signature, pixels) {
  const { height, width, colorType, bitDepth } = signature

  // the product of the colorType and bitDepth determines the bits per pixel
  let bitsPerPixel = colorChannelMatrix[colorType] * bitDepth

  // using the derived bits per pixel * width, find the bits per row / scanline
  let bitsPerRow = bitsPerPixel * width

  // finally divide that by 8 to find the bytes per row
  let bytesPerRow = Math.ceil(bitsPerRow / 8)

  const numScanlines = height
  let currentScanline = 0
  const scanlineLength = bytesPerRow + 1 // add one for the filterByte

  // a matrix containing pixel values per row
  const pixelMap = []

  while (currentScanline < numScanlines) {
    // keep reference to initial offset
+   let startingOffset = currentScanline

    // increment row offset
+   currentScanline++

    // slice the scanline to get the current row's values
+   let row = pixels.subarray(startingOffset, startingOffset + scanlineLength)
+   let filteredRow = []

    // find the filter type and set the offset
+   let filterType = row[0];

    // set the offset to 1 to skip the filter type value
+   let offset = 1;

    // loop over the row itself
+   while (offset < row.length) {
+     let i = offset;

      // log out the current pixel value
+     console.log(row[i])

+     offset++;
+   }

    return {
      signature,
      pixelMap,
    }
  }
}
Let’s recap. At the beginning of this post we had a flat byte array and the PNG’s signature. We used the signature to derive the number of bits per pixel, and how many individual numbers make up the pixel. We also determined how many pixels are in a row, and how many rows make up the image. With all of this information, we’re now looping over the image accessing individual pixel values - wow!
Are we done? If we take these pixel values and dump them into another file, will we be duplicating the PNG? Maybe, but probably not. There’s one more step, and that’s to apply the filter type. I’ll cover that in the next post.

